Installing Citizen Label Printer
Initial System/Hardware Requirements:
Citizen CL-S700 or CL-S621 (Can be purchased from us)
Printer must be on the Network. (Network card)
Windows Only Computers
Install Printer on the network
Note: You may need to consult your I.T. Department to assist with Install.
The following instructions apply only to printers equipped with network cards.
Network cards are no longer required for printing in Fleet360 and are not included with standard printer purchases. However, they are still available upon request for an additional cost.
Installing Print Drivers:
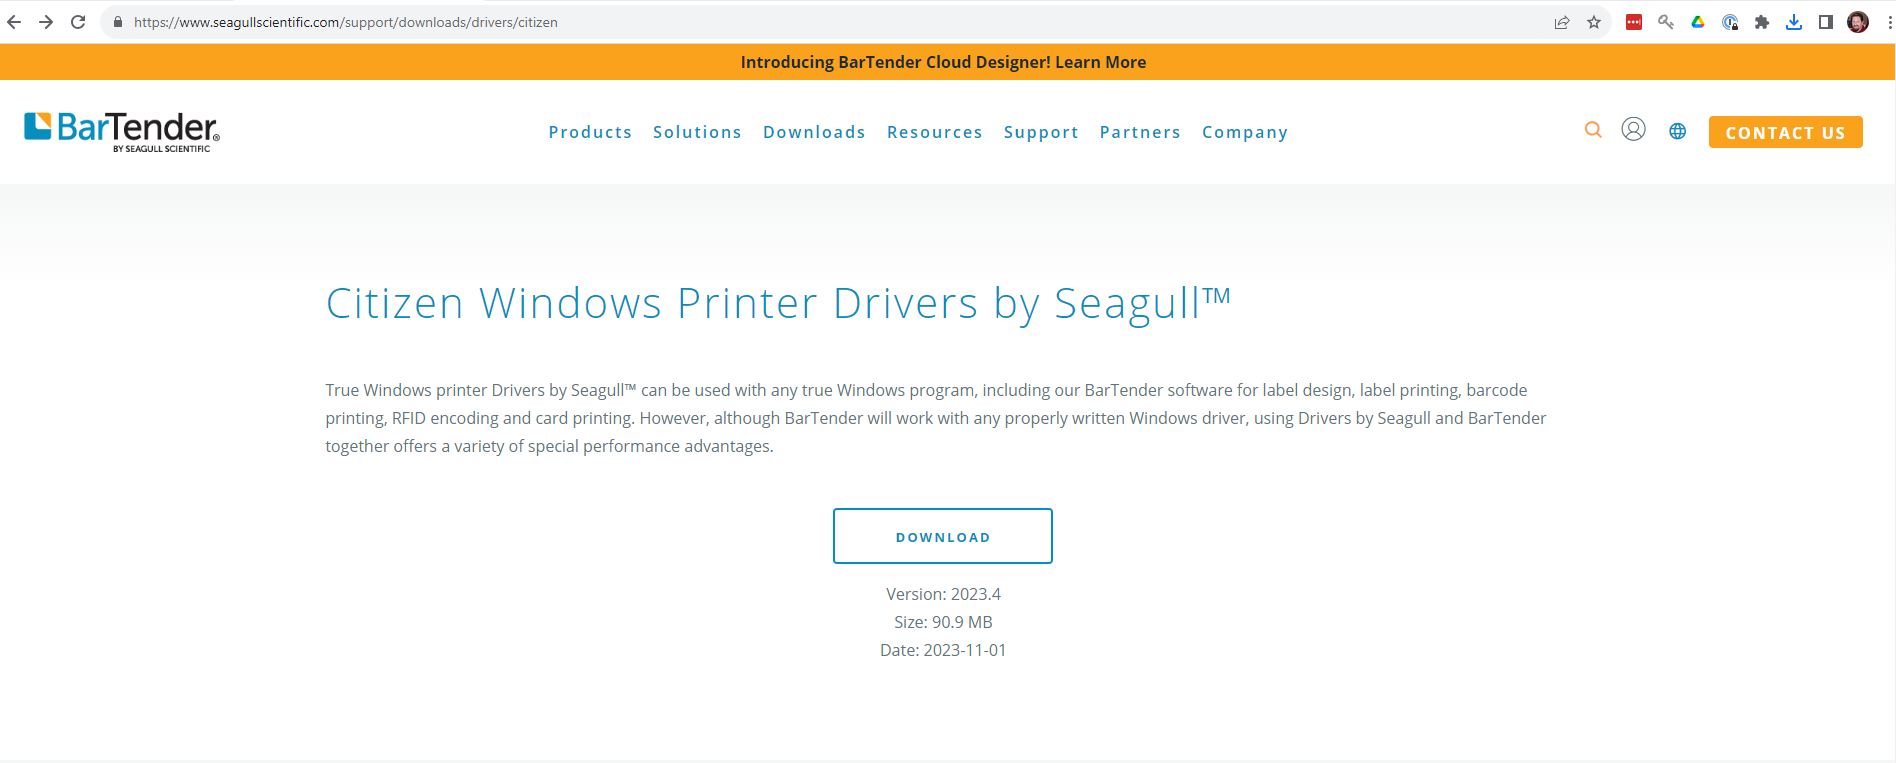
Navigate to https://www.citizen-systems.com/us/support/drivers-and-tools/CL-S621?cHash=3285429b7f336f6b308a19d4dbd70f64
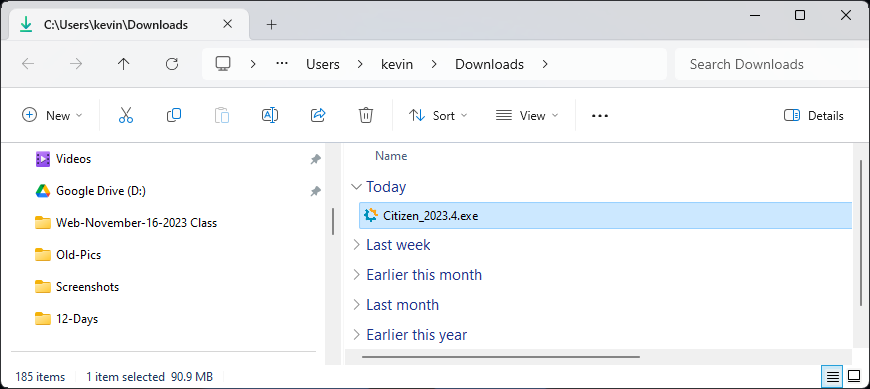
Download the printer driver and run the installation
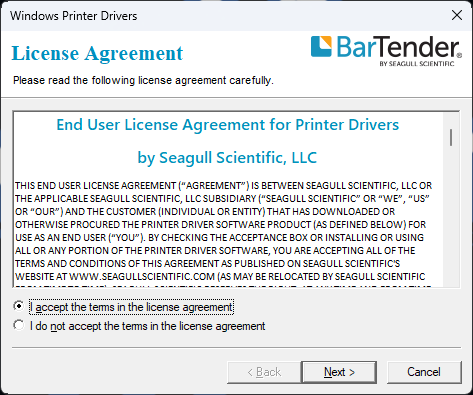
Accept terms
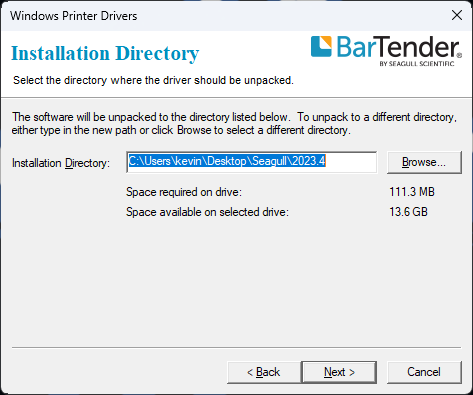
Hit next on directory screen
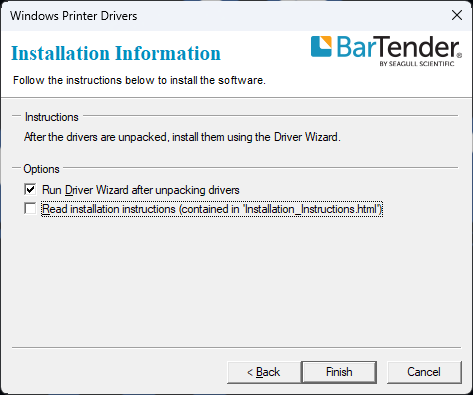
Uncheck installation instructions and hit finish
Say yes to the make changes prompt
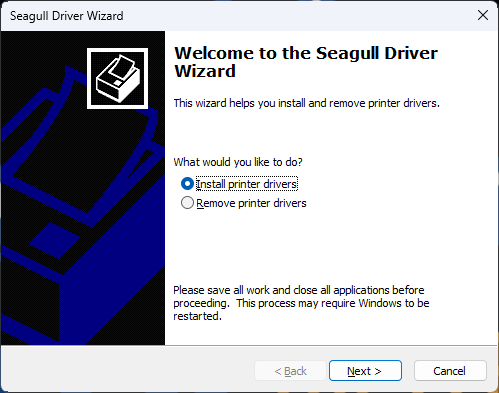
Keep it on install printer drivers and hit next
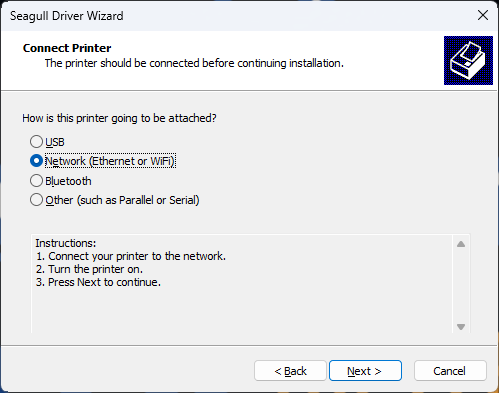
Select network and hit next
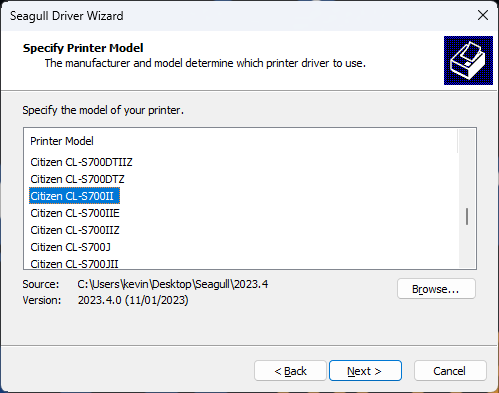
Find Citizen CL-S700II and next
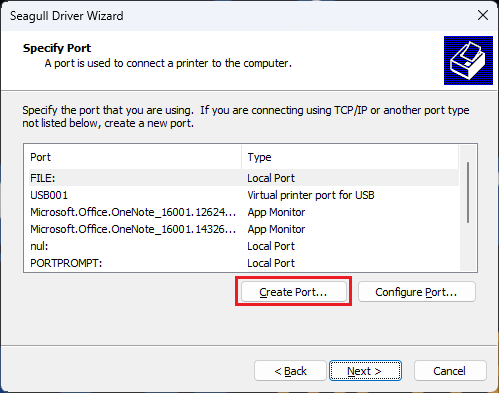
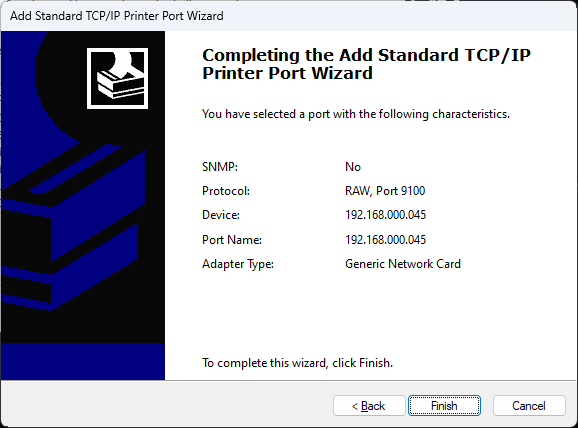
Create port
Standard TCP/IP Port
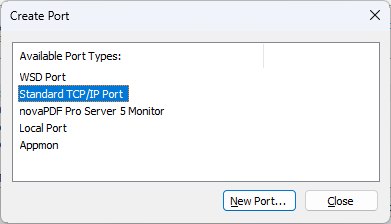
Hit New Port
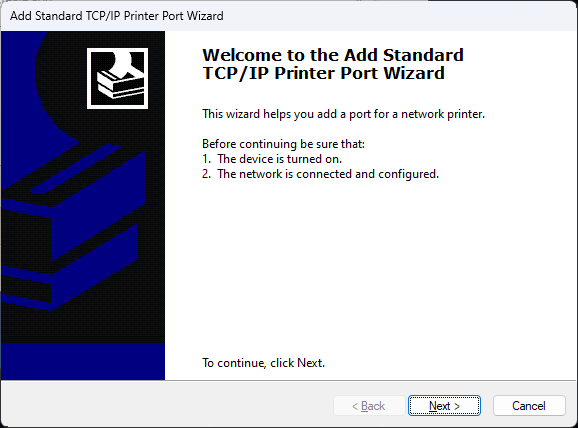
Click Next
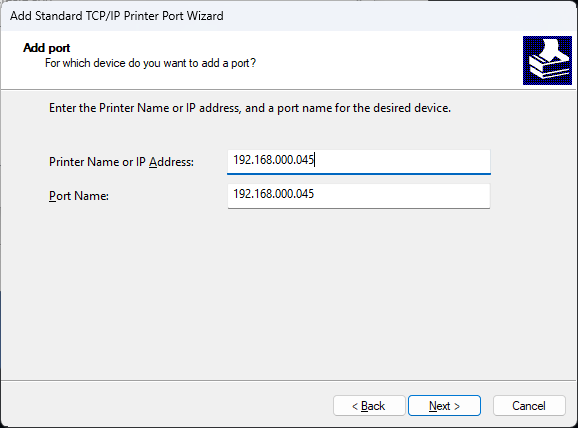
Enter in the Printer IP into the IP Address field (See the IP Address on front Printer Menu Screen)
Hit Next
Note: The Citizen Printer must have an internal network card installed in order to be used as a Network Printer. You can contact RTA for inquiries on the Citizen Network Cards.
Hit Finish
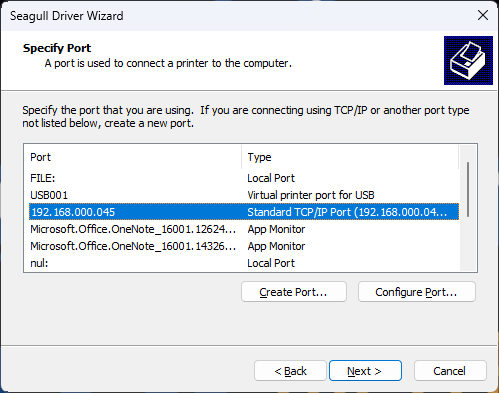
Select port you created and hit next
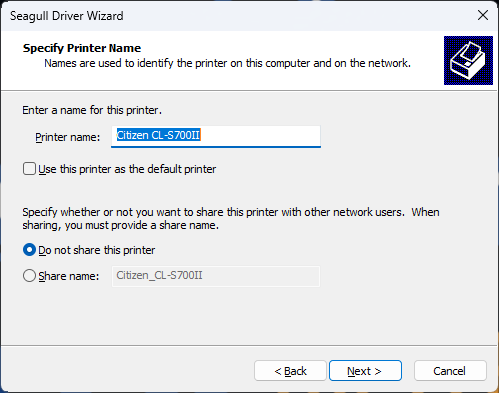
Leave printer name alone and hit next
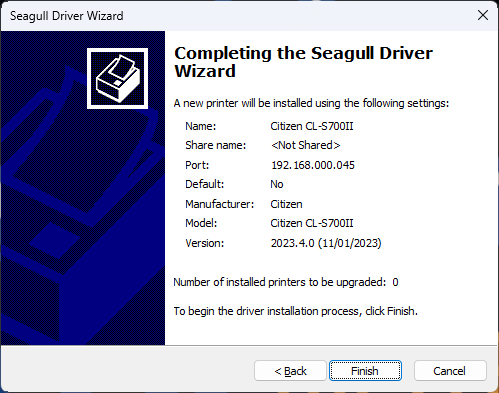
Hit finish
Installing:
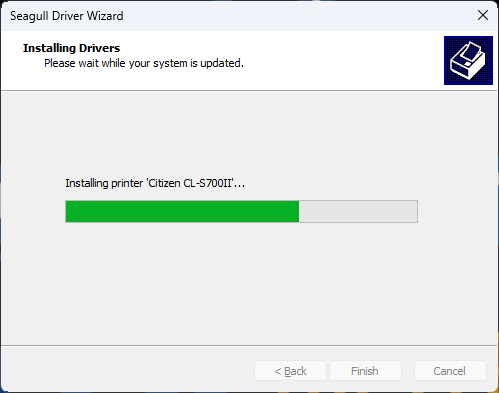
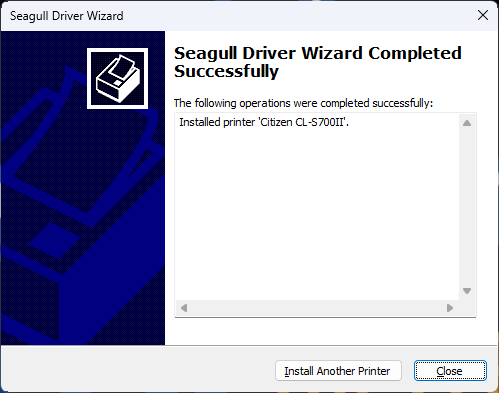
Can close out of printer settings if there is any up
Installing RTA Barcodes and Printer Service
Next to install the Barcodes and Printer Service refer to: Installing Barcodes and Printer Service.
Fleet360 Application Printer Setup Instructions:
For Printer Settings and setup in the RTA Web Application see the section on Facility Printers Tab.
Printers Without a Network Card
Navigate to https://www.citizen-systems.com/us/support/drivers-and-tools/CL-S621?cHash=3285429b7f336f6b308a19d4dbd70f64 SELECT THE CORRECT MODEL

Download the printer driver and run the installation

Accept Terms

Hit next on the directory screen

Uncheck installation instructions and click finish

Select install printer drivers and click next

Select USB and click next
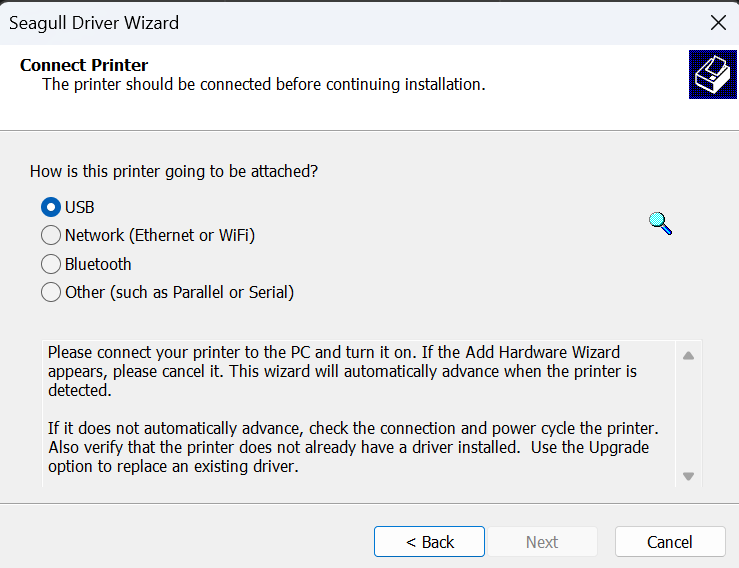
Continue the set up process
Printer Configurations
Open Windows System Settings
Click the Start/Windows button → Search for Settings
Select Bluetooth & Devices from the left menu
Click on Printers & Scanners on the right
Select your Citizen Label Printer from the list
Page Setup Tab
Click New
Name Setting: 3x1
Type: Die-Cut Labels
Label Size:
Width: 2.95 in
Height: 1.00 in
Exposed Liner Widths:
Left: 0.10 in
Right: 0.05 in
Automatic Preset Selection: Leave unselected
Set the following
Orientation: Portrait
Effects: None Selected
Preset: Current Settings
Graphics Tab
Resolution: 203 dpi x 203 dpi
Dithering: None
Color Control: Monochrome
Make sure your browser zoom is set to 100% when printing from Fleet360.
If zoom is higher or lower than 100%, labels may print blurry, misaligned, or distorted.